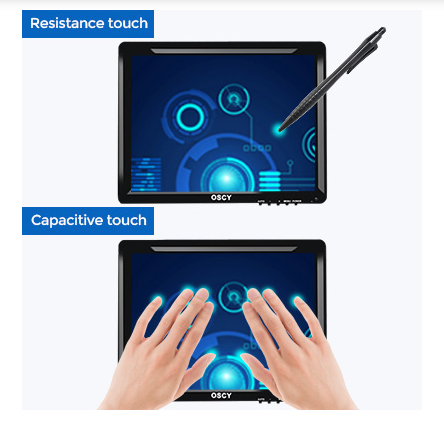
A medida que aumenta la demanda de dispositivos móviles en la vida y el trabajo, debemos considerar cómo mejorar la portabilidad sin perder potencia y funciones informáticas. En este momento, la combinación de Raspberry Pi y ordenador personal monitor puede proporcionar una excelente solución, permitiéndonos completar tareas informáticas cómodamente en cualquier lugar.

En este artículo, presentaremos cómo construir una computadora portátil con Raspberry Pi y monitor LCD.
Paso 1. Prepara tu Raspberry Pi y Dmonitor de escritorio
Primero, necesitas comprar una Raspberry Pi, que se puede conseguir fácilmente en Internet. Además, debe elegir un monitor LCD según sus necesidades específicas. Dependiendo de la situación real, es posible que deba elegir un monitor LCD de alta definición o un monitor LCD de tamaño pequeño, etc.
Paso 2. Conecte Raspberry Pi y el monitor LCD
Ahora, necesitas conectar la Raspberry Pi y el monitor LCD. Dependiendo del tipo de monitor LCD que elija, es posible que necesite utilizar un convertidor HDMI, VGA o DVI para lograr la conexión. En este caso, Monitor VGA, monitor hdmi así como monitor DVI son todas opciones adecuadas para la frambuesa pi.
Paso 3. Instale el sistema operativo
A continuación, debe instalar el sistema Linux u otro sistema operativo compatible con Raspberry Pi y guardarlo en su tarjeta de memoria SD. Puede obtener más información sobre el sistema operativo a través de los documentos proporcionados por el sitio web oficial de Raspberry Pi o buscar otros documentos relacionados en Internet.
Paso 4. Instale el software requerido
Una vez que haya instalado el sistema operativo requerido, deberá instalar algún software para completar las tareas informáticas requeridas. Dependiendo de sus necesidades, es posible que necesite instalar software como un navegador web, una suite ofimática, un software de programación, etc.
Paso 5. Conecte dispositivos externos
Para completar tu computadora portátil, también necesitas conectar dispositivos externos como mouse, teclado, unidad USB, etc., para que puedas completar las tareas informáticas de manera más cómoda y eficiente.
Paso 6. Complete la configuración
Finalmente, debe completar la configuración para asegurarse de que su computadora portátil funcione de acuerdo con sus necesidades reales. Después de completar la configuración, ahora puede encender la Raspberry Pi como una computadora portátil para completar tareas informáticas.
Resumen
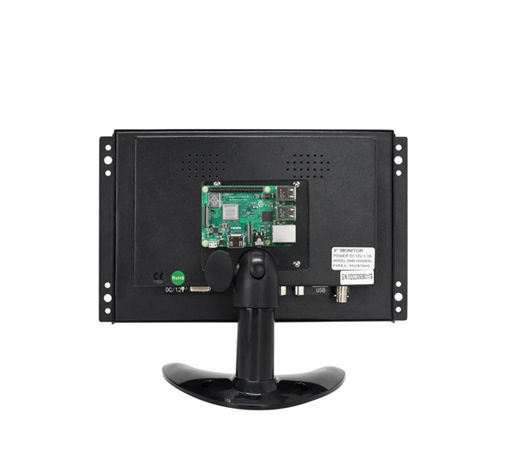
Para ayudar a nuestros clientes a lograr una manera más conveniente, podemos ayudar a instalar el Frambuesa Pi en la parte posterior de nuestros monitores mediante soportes para monitor vesa. Entonces, si tiene alguna consulta para Frambuesa Pi monitores¡Simplemente no dude en contactar con OSCAN! Mientras tanto, uCantar Raspberry Pi y un monitor LCD para construir una computadora portátil puede lograr muchas ventajas, como alta portabilidad y gran capacidad de expansión, lo que le permite completar tareas informáticas de manera eficiente en cualquier momento y lugar. Además, utilizar Raspberry Pi y un monitor LCD para construir una computadora portátil también puede hacer que su vida y su trabajo sean más convenientes y eficientes.
